Warts can be a bothersome and embarrassing skin condition that many people struggle with. If you're looking for an effective way to remove warts, salicylic acid may be the solution you've been searching for. In this article, we'll explore the benefits and proper usage of salicylic acid for wart removal, as well as other treatment options you can consider.
Understanding Warts
Before delving into the specifics of salicylic acid treatment, it's important to have a basic understanding of warts. Warts are small, benign growths that can appear on various parts of the body, including the hands, feet, and face. They are caused by the human papillomavirus (HPV) and are highly contagious.
Types of Warts
There are several different types of warts that can occur, including common warts, plantar warts, flat warts, and genital warts. Salicylic acid is most effective for treating common warts, which typically appear on the fingers, hands, and knees.
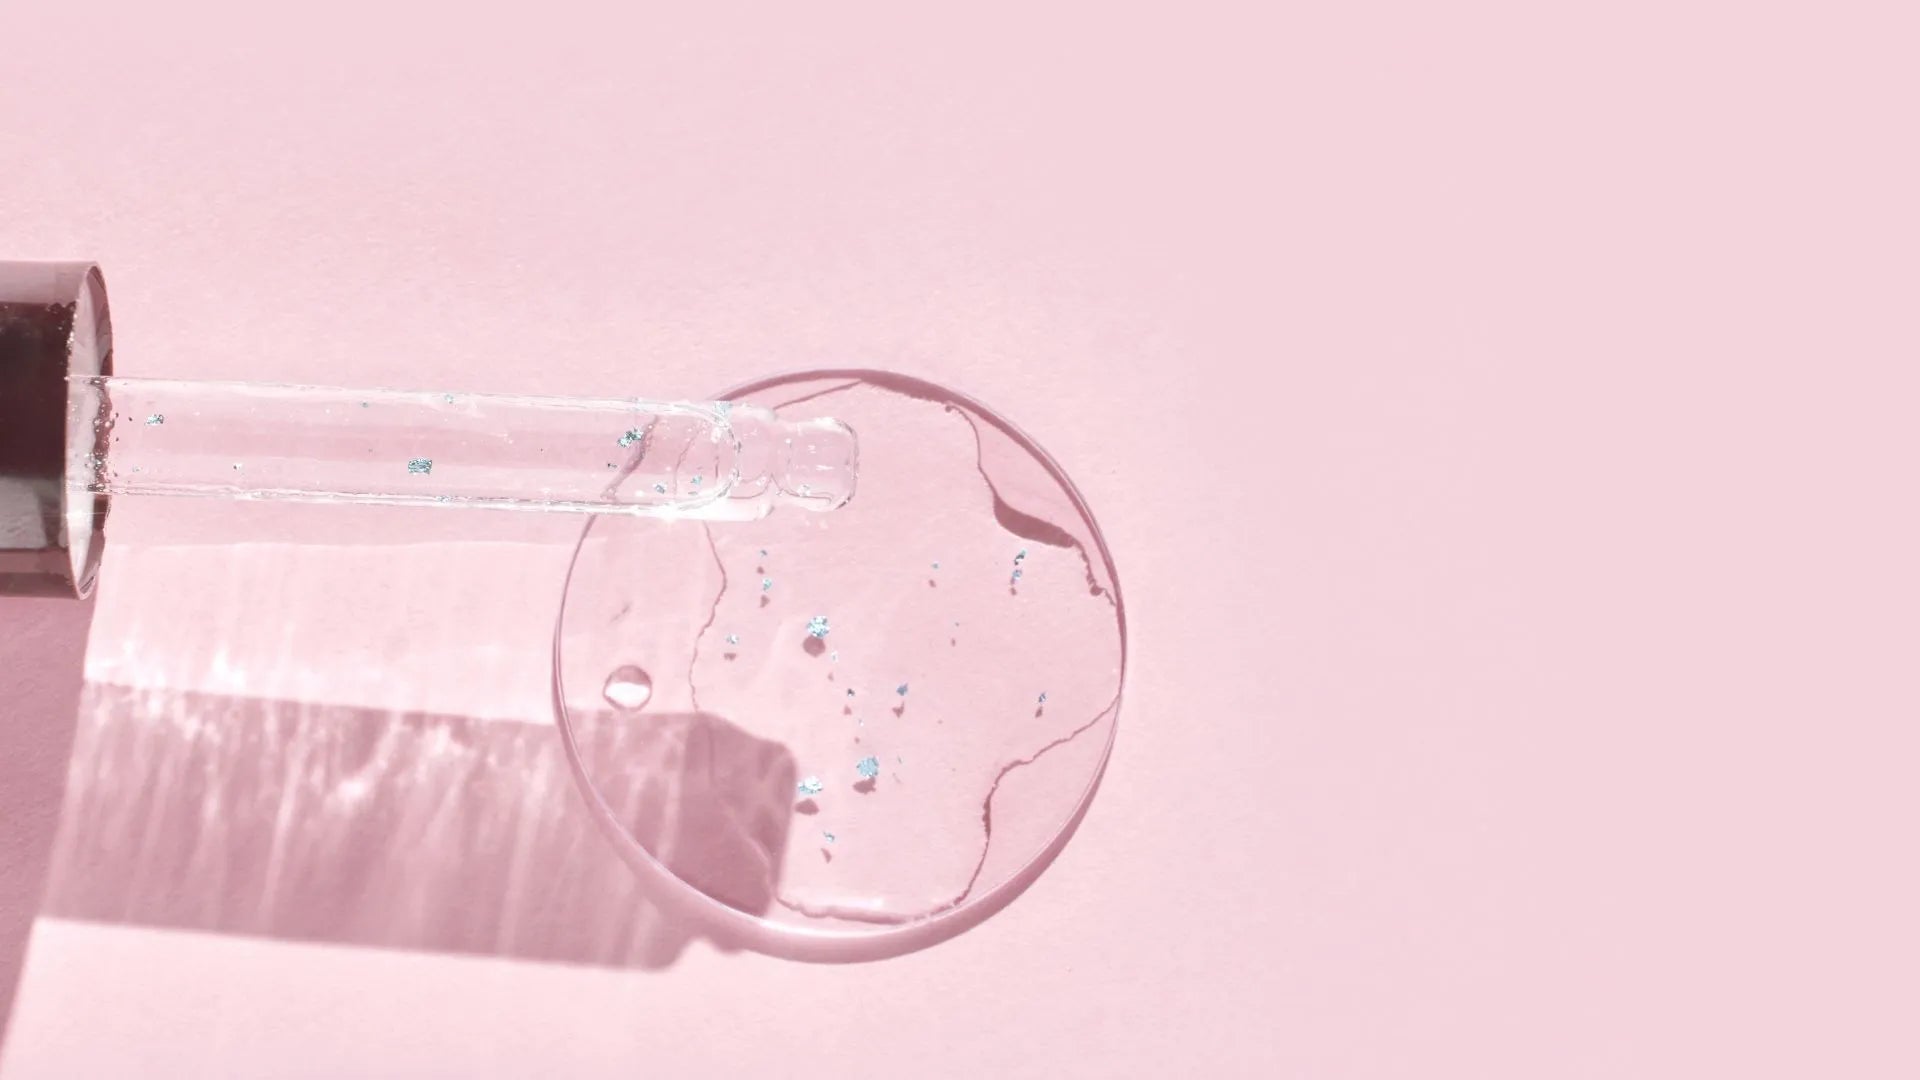
How Does Salicylic Acid Work?
Salicylic acid is a keratolytic agent, which means it helps to break down and remove the outer layer of skin. When applied to a wart, salicylic acid works by gradually softening and dissolving the wart tissue, allowing it to be easily removed. It also helps to stimulate the immune system, which can aid in the healing process.
Getting Started: Your Wart Removal Arsenal
Here's what you'll need:
1. Salicylic acid wart remover: Look for a product in liquid, gel, collodion (waxy liquid), or plaster form, depending on your preference.
2. Pumice stone or emery board: To gently buff away the wart's surface.
3. Warm water: For softening the wart.
4. Cotton swabs or pads: For applying the salicylic acid.
5. Bandages or tape (optional): To cover the wart after application.
At-Home Salicylic Acid Wart Treatment
If you're considering using salicylic acid for wart removal at home, it's important to follow the proper steps to ensure safety and effectiveness. Here's a step-by-step guide to help you through the process:
1. Clean the affected area with soap and warm water.
2. Soak the wart in warm water for 5-10 minutes to soften the skin.
3. Gently remove any dead skin using a pumice stone or emery board.
4. Apply salicylic acid directly to the wart, being careful to avoid the surrounding healthy skin.
5. Cover the wart with a bandage or tape to protect it and keep the medication in place.
6. Repeat this process daily until the wart is completely gone, which may take several weeks.
When to See a Doctor
While salicylic acid treatment can be effective for many individuals, it may not be suitable for everyone. If you have diabetes, poor circulation, or a weakened immune system, it's important to consult with a healthcare professional before attempting any at-home wart removal methods. Additionally, if you've tried salicylic acid treatment for an extended period of time without any improvement, it's recommended to seek medical advice.
Other Treatment Options
While salicylic acid is a popular and effective treatment for warts, there are other options you can explore if it doesn't work for you. Some alternative treatments for warts include cryotherapy (freezing the wart), laser therapy, and surgical removal. These methods may be more suitable for certain individuals or for warts that are resistant to salicylic acid treatment.
Takeaways
Wart removal can be a frustrating and challenging process, but with the right treatment, you can say goodbye to those pesky warts for good. Salicylic acid offers an affordable and accessible option for wart removal, and when used correctly, it can deliver impressive results. Whether you choose to use salicylic acid or explore other treatment options, it's important to consult with a healthcare professional to ensure the best outcome for your specific situation.


